Windows Scan – Microsoft’s Free & Simple Scanning Tool
You have a scanner on your desk, but the software that came with it is slow, buggy, or just too complicated. Maybe it is filled with buttons you never use and pop-ups asking you to buy ink. What if there was a cleaner, faster, and completely free alternative? There is. It is called Windows Scan, and Microsoft built it right into the Windows ecosystem.
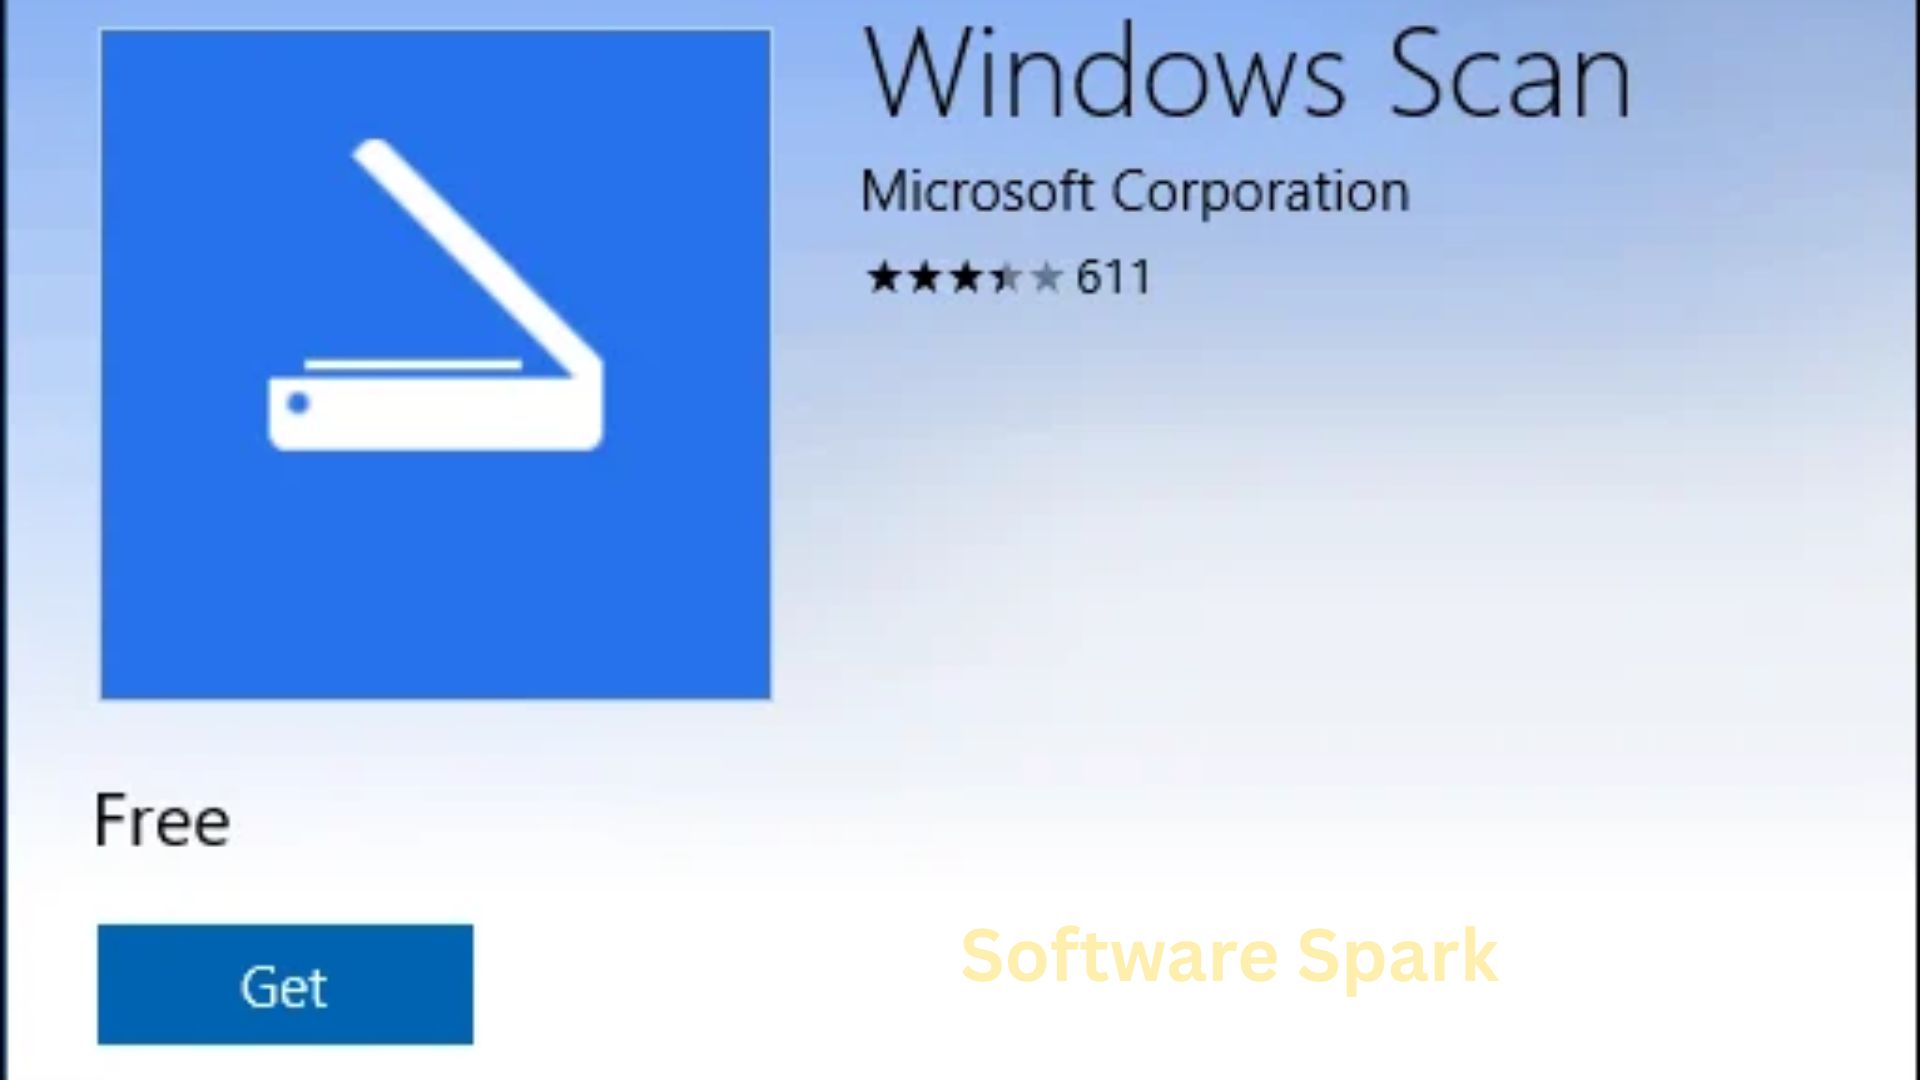
Windows Scan is a Universal Windows Platform (UWP) application available for free from the Microsoft Store. It does not have a hundred confusing settings. It does not try to sell you a subscription. Instead, it does exactly what you need: it takes a document or photo from your scanner and saves it as a PDF, JPEG, or PNG file.
For home users, students, and small office workers, this simplicity is a blessing. You can scan a single page from a flatbed, or feed a stack of papers through an Automatic Document Feeder (ADF). You can adjust the resolution, crop the image, and rotate it. That is it. No bloat. No frustration. In this article, we will explore everything you need to know about Windows Scan, including its features, installation, and how it compares to manufacturer software.
Software Overview
Windows Scan is a free, first-party application developed by Microsoft. It is designed specifically for Windows 8.1, Windows 10, and Windows 11 as a UWP (Universal Windows Platform) app. Unlike traditional desktop software, UWP apps are optimized for security, battery life, and a consistent interface across different devices.
The software acts as a bridge between your scanner hardware and your computer. It communicates with any TWAIN-compliant scanner—which includes most flatbed scanners, all-in-one printers, and document feeders from brands like Canon, Epson, HP, Brother, and Fujitsu. If your scanner works with Windows, it likely works with Windows Scan.
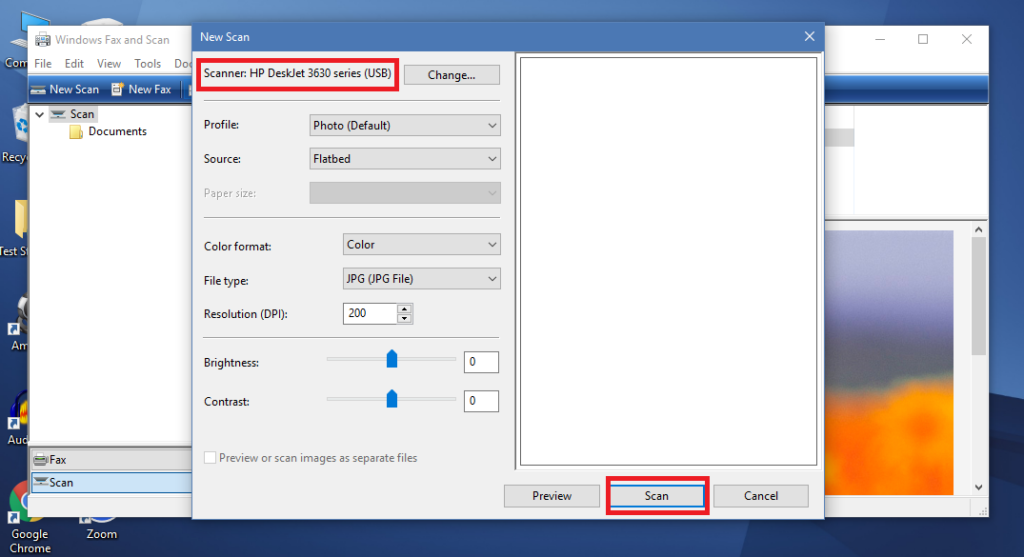
The interface is minimalist. You see a large preview window, a big scan button, and a few dropdown menus for settings. There is no toolbar overload. You choose your scanner, select a file format (PDF, JPG, or PNG), pick a resolution (DPI), and hit scan. The resulting file is saved to your desired folder, ready to email, print, or archive.
While Windows Scan lacks advanced features like Optical Character Recognition (OCR) or complex photo editing, it succeeds at its mission: providing a reliable, no-cost, and straightforward scanning experience for everyday users.
Main Features with Detailed Descriptions
1. Flatbed and Automatic Document Feeder (ADF) Support
Windows Scan works with two types of scanner mechanisms. A flatbed is the glass surface where you place a single book, photo, or document. An Automatic Document Feeder (ADF) is the tray that pulls in a stack of pages one by one.
You can choose the source within the app. If you have a 10-page contract, you load the stack into the ADF, select “Feeder” as the source, and Windows Scan will process all pages sequentially. For fragile photos or a single receipt, you select “Flatbed.” This flexibility covers most home and small office scenarios.
2. Multiple Output Formats: PDF, JPEG, and PNG
Different tasks require different file types. Windows Scan lets you choose from three common formats.
- PDF (Portable Document Format): Best for multi-page documents, contracts, forms, and letters. PDFs preserve layout and are widely accepted for official purposes.
- JPEG (Joint Photographic Experts Group): Ideal for photos, artwork, or single images where small file size is important. JPEGs can be easily shared on social media or inserted into documents.
- PNG (Portable Network Graphics): A lossless format that preserves sharp details. Use PNG for screenshots, logos, or text-heavy images where you want no compression artifacts.
You set the format before scanning. The app will save the output accordingly.
3. Adjustable DPI Resolution (150, 300, 600)
DPI stands for Dots Per Inch. Higher DPI means better quality but larger file sizes. Windows Scan offers three practical presets:
- 150 DPI: Good for text documents that will only be read on a screen or printed as draft quality. File sizes are small.
- 300 DPI: The standard for most documents and photos. Text is sharp, and photos look good. This is the recommended default for archiving.
- 600 DPI: High resolution for scanning small originals (like a business card or a stamp) or when you plan to enlarge the image later. File sizes become large.
You can also type a custom DPI value if your needs fall between these presets. The software respects your scanner’s maximum capability.
4. Basic Image Adjustments: Crop, Rotate, and Zoom
Before you save a scan, Windows Scan lets you refine the image using simple tools.
- Crop: Drag the handles around the preview image to remove unwanted white space or edges. For example, scan a book page and crop out your fingers holding the page down.
- Rotate: Rotate the image in 90-degree increments. This fixes pages that were placed sideways or upside down on the glass.
- Zoom: Magnify the preview to check details, such as whether small text is legible or a photo is in focus.
These adjustments are applied before saving, so the final file is clean and ready to use. However, note that Windows Scan does not offer advanced edits like red-eye removal, color correction, or straightening a crooked scan. For those, you would need a photo editor.
5. Customizable File Naming and Save Location
Organization matters. Windows Scan allows you to set a default file name prefix and a save folder. For example, you can set the prefix to “Receipt_2025” and the folder to C:\Users\YourName\Scans. Every scan will be saved as Receipt_2025_001.jpg, Receipt_2025_002.jpg, etc.
You can also choose a different location for each scanning session if you prefer. This feature prevents scans from piling up on your desktop or in a random downloads folder.
6. Automatic Page Detection and Size Selection
When you place a document on a flatbed scanner, Windows Scan can automatically detect the page size. It senses the edges of the paper and crops the scan to fit exactly. Alternatively, you can manually select a standard size like Letter, A4, Legal, or Photo 4×6.
Automatic detection saves time when scanning mixed items. Manual selection is useful when you know the exact size and want consistency across multiple scans.
System Requirements
Because Windows Scan is a UWP app from Microsoft, it is very lightweight and runs on any modern Windows computer.
| Requirement Category | Minimum Specification |
|---|---|
| Operating System | Windows 8.1, Windows 10, or Windows 11 |
| Processor (CPU) | 1.0 GHz or faster (any processor) |
| Memory (RAM) | 1 GB (2 GB recommended for high-resolution scans) |
| Storage Space | 200 MB of free space for the app |
| Scanner Compatibility | Any TWAIN-compliant scanner or all-in-one printer |
| Microsoft Account | Required to download from Microsoft Store (free) |
*Note: The app does not work on Windows 7 or older versions. If your scanner is not TWAIN-compliant (very rare for modern devices), Windows Scan will not detect it.*
How to Install Windows Scan (Step-by-Step)
Installing Windows Scan is simple because it comes directly from the Microsoft Store. No shady websites or confusing installers.
Step 1: Open Microsoft Store
Click the Start button (Windows icon) on your taskbar. Type “Microsoft Store” and press Enter. Alternatively, click the shopping bag icon if it is pinned to your taskbar.
Step 2: Search for Windows Scan
In the Microsoft Store, click the search bar at the top. Type “Windows Scan” and press Enter. Look for the app with the icon that looks like a scanner and a document. The developer should be “Microsoft Corporation.”
Step 3: Select the App
Click on the “Windows Scan” result. You will see a blue “Install” button.
Step 4: Click Install
Click “Install.” The app will download and install automatically. No configuration needed. The total file size is very small (under 50 MB), so it will finish in under a minute.
Step 5: Launch Windows Scan
After installation, you have two options:
- Click “Open” directly from the Microsoft Store page.
- Or, click the Start button, type “Windows Scan,” and press Enter.
Step 6: Connect Your Scanner
Before first use, ensure your scanner is plugged in, powered on, and connected to your computer (via USB or network). Windows Scan will automatically detect compatible devices.
Step 7: Grant Permissions (if asked)
The app may ask for permission to access your camera (if your scanner has a camera function) or your documents folder. Click “Yes” or “Allow.” This is required to save scans.
Step 8: Choose Your Scanner
At the top of the Windows Scan window, click the dropdown menu labeled “Scanner.” Select your device from the list. If it does not appear, restart the app and check your scanner drivers.
Step 9: Test a Scan
Place a test page on your scanner glass or in the document feeder. Click the white “Scan” button (it has a small scanner icon). The preview will appear. Click “Scan” again to save the file.
Step 10: Adjust Settings
Use the settings panel to choose your file format, DPI, save folder, and file name prefix. These settings will be remembered for your next session.
Pros and Cons Table
Windows Scan is not perfect, but it is excellent at what it does. Here is a balanced look.
| Pros (Advantages) | Cons (Disadvantages) |
|---|---|
| Completely free: No cost, no trial, no subscription. | No OCR (text recognition): Cannot turn scanned text into editable words. |
| Clean, simple interface: No confusing toolbars or ads. | No advanced photo editing: Cannot remove scratches or adjust colors. |
| Works with most scanners: TWAIN-compliant devices are widely supported. | Windows only: No Mac, Linux, or mobile versions. |
| Supports ADF (multi-page) scanning: Great for contracts and forms. | Requires Microsoft Store: Some enterprise PCs may block store access. |
| Saves to PDF, JPG, or PNG: Covers 99% of everyday needs. | No cloud integration: Does not save directly to OneDrive or Google Drive. |
| Customizable DPI (150-600+): Control quality vs. file size. | No automatic straightening: Crooked pages remain crooked. |
| Crop and rotate tools: Enough for basic cleanup. | No batch renaming beyond sequential numbers. |
Practical Use Cases and Benefits
Use Case 1: The Home User Digitizing Old Photos
Scenario: You have a shoebox of old family photos from the 1990s. You want to back them up digitally before they fade.
Benefit: You use Windows Scan with a flatbed scanner. Set the format to JPEG or PNG, resolution to 300 DPI. Crop each photo to remove the white border. Save them to a folder named “Family Photos.” No need to buy expensive photo scanning software.
Use Case 2: The Student Scanning Textbook Pages
Scenario: You need to share a chapter from a library book with a study group. You cannot remove the pages from the book.
Benefit: You lay the book open on the flatbed scanner. Windows Scan automatically detects the page size. You scan as PDF, then email the single file to your group. The process takes 30 seconds.
Use Case 3: The Small Business Owner with a Document Feeder
Scenario: You receive a 20-page contract from a client. They need a digital PDF copy for their records.
Benefit: Load the pages into your scanner’s ADF. In Windows Scan, select “Feeder” as the source and “PDF” as the format. Click Scan. The app processes all 20 pages into one PDF file. Name it “Client_Contract.pdf” and email it. No expensive document management software required.
Use Case 4: The Remote Worker Signing Digital Forms
Scenario: Your employer sent you a PDF form that needs your physical signature. You have a printer-scanner at home.
Benefit: Print the form. Sign it with a pen. Place it on the scanner. Use Windows Scan to create a new PDF. Save it and email it back. The whole process takes two minutes. You did not need to install the printer’s bloated software suite.
Use Case 5: The Archivist Preserving Receipts
Scenario: You need to keep digital copies of receipts for tax purposes. Paper receipts fade over time.
Benefit: Scan each receipt using Windows Scan. Set the format to PNG (for sharp text) or PDF. Use 300 DPI. The app saves them sequentially. You now have a permanent, searchable (by file name) archive of your receipts.
Frequently Asked Questions (FAQ)
Q1: Is Windows Scan really free? Do I need an Office 365 subscription?
Yes, Windows Scan is completely free. You do not need any subscription, including Office 365 or Microsoft 365. It is a standalone app provided by Microsoft at no cost. There are no in-app purchases, ads, or trial periods. Simply download it from the Microsoft Store and use it forever.
Q2: Why doesn’t Windows Scan detect my scanner?
There are three common reasons:
- Your scanner is not TWAIN-compliant: Almost all modern scanners are, but very old or very cheap models might use a proprietary protocol. Check your scanner’s manual.
- Drivers are missing or outdated: Go to the scanner manufacturer’s website (e.g., HP, Canon, Epson) and download the latest Windows 10/11 drivers. Install them, restart your PC, then try Windows Scan again.
- Scanner is not powered on or connected: Check USB cables or network connections. For network scanners, ensure they are on the same Wi-Fi network as your PC.
If none of these work, use the scanner’s own software as a fallback.
Q3: Can I scan multiple pages into one PDF file?
Yes, if you have an Automatic Document Feeder (ADF). Load the stack of pages into the feeder. In Windows Scan, select “Feeder” as the source. After the first page scans, the app will ask if you want to add another page. Keep scanning until you finish the stack, then click “Finish” to save a single PDF containing all pages. For flatbed scanners, you must manually place each page and click “Add” after each scan to build a multi-page PDF.
Q4: Does Windows Scan have Optical Character Recognition (OCR)?
No. Windows Scan saves documents as image-based PDFs or picture files (JPG/PNG) . That means you cannot search for words inside the scanned document, and you cannot copy text from it into a Word file. If you need OCR, you will need to use a different program like Adobe Acrobat Pro, Microsoft OneNote, or a free tool like NAPS2 (Not Another PDF Scanner 2). Windows Scan focuses on simple, reliable scanning without OCR.
Q5: Can I scan directly to a cloud service like OneDrive or Google Drive?
Not directly. Windows Scan saves files to your local hard drive (e.g., your Documents or Pictures folder). However, you can set the save location to a folder that is synchronized with OneDrive, Dropbox, or Google Drive. For example, if you have OneDrive installed, set the save folder to C:\Users\YourName\OneDrive\Scans. The scan will appear in your cloud folder within seconds.
Q6: How do I change the default file name and location?
Open Windows Scan. Look for a small gear icon (Settings) or a link that says “Save scanned files to.” Click it. You will see two options:
- Save to: Click “Browse” to choose a new folder.
- File name prefix: Type a word or phrase that will appear at the start of every file name. The app will add numbers automatically (e.g., “Receipt_001”).
These settings are saved for future scanning sessions.
Q7: Can I use Windows Scan on Windows 7 or Windows 8?
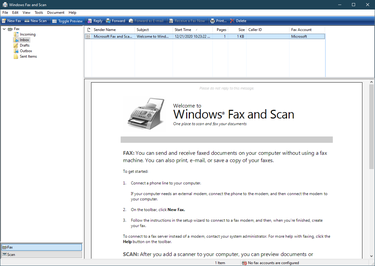
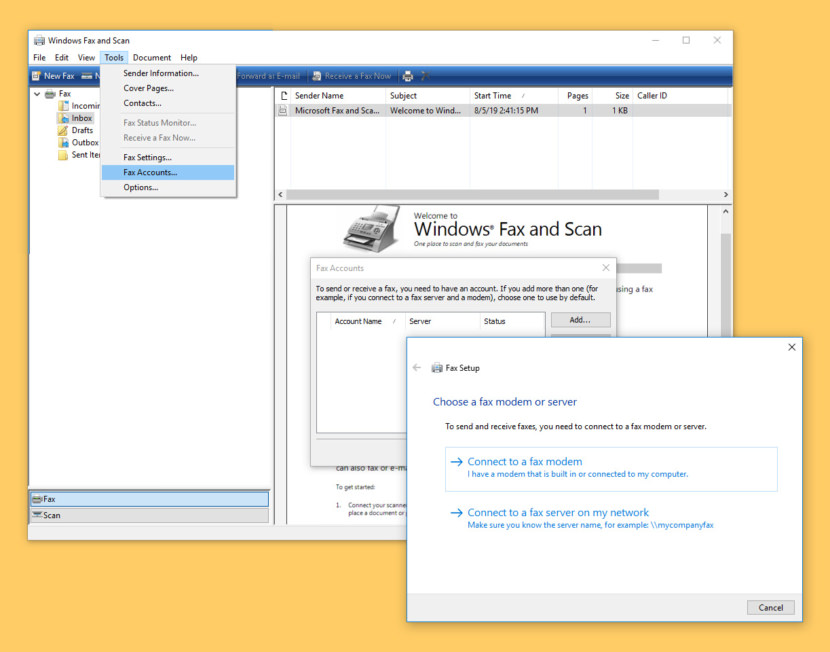
Windows Scan is a UWP app and officially requires Windows 8.1 or newer. It will not install on Windows 7. Windows 8 (non-8.1) may have compatibility issues. For Windows 7 users, Microsoft offers a different tool called “Windows Fax and Scan” (included in the OS), but it is older and less user-friendly. For the best experience, upgrade to Windows 10 or 11, or use your scanner’s native software.
Q8: The scan preview is blurry or cut off. What do I do?
First, check your scanner glass for dust or smudges. Clean it with a soft cloth. Next, try a different DPI setting. Sometimes 150 DPI is too low for small text. Use 300 DPI. If the image is cut off, the automatic page detection may have failed. Manually select a page size (e.g., Letter or A4) from the settings dropdown. You can also use the crop handles to adjust the scan area before saving.
Conclusion
Windows Scan is a quiet hero in the Microsoft ecosystem. It does not have flashy marketing or a long list of advanced features. What it has is reliability, simplicity, and a price that cannot be beaten: zero dollars.
For the vast majority of home users, students, and small office workers, Windows Scan will handle 95% of scanning needs. Need a quick PDF of a signed contract? Done. Want to digitize a stack of family photos? Done. Have to scan a 30-page document through an ADF? Done. All without navigating confusing interfaces or dodging pop-up ads.
The lack of OCR and advanced editing may frustrate power users, but those users likely already own dedicated software like Adobe Acrobat or a full image editor. For everyone else, Windows Scan removes the friction from scanning.
If you have been struggling with your scanner’s original software—the one that came on a CD and looks like it was designed in 2005—do yourself a favor. Uninstall that bloatware. Download Windows Scan from the Microsoft Store. Place a document on your scanner. Click the big scan button. Save the file. Smile at how easy that was.
That is the beauty of Windows Scan: it just works.